

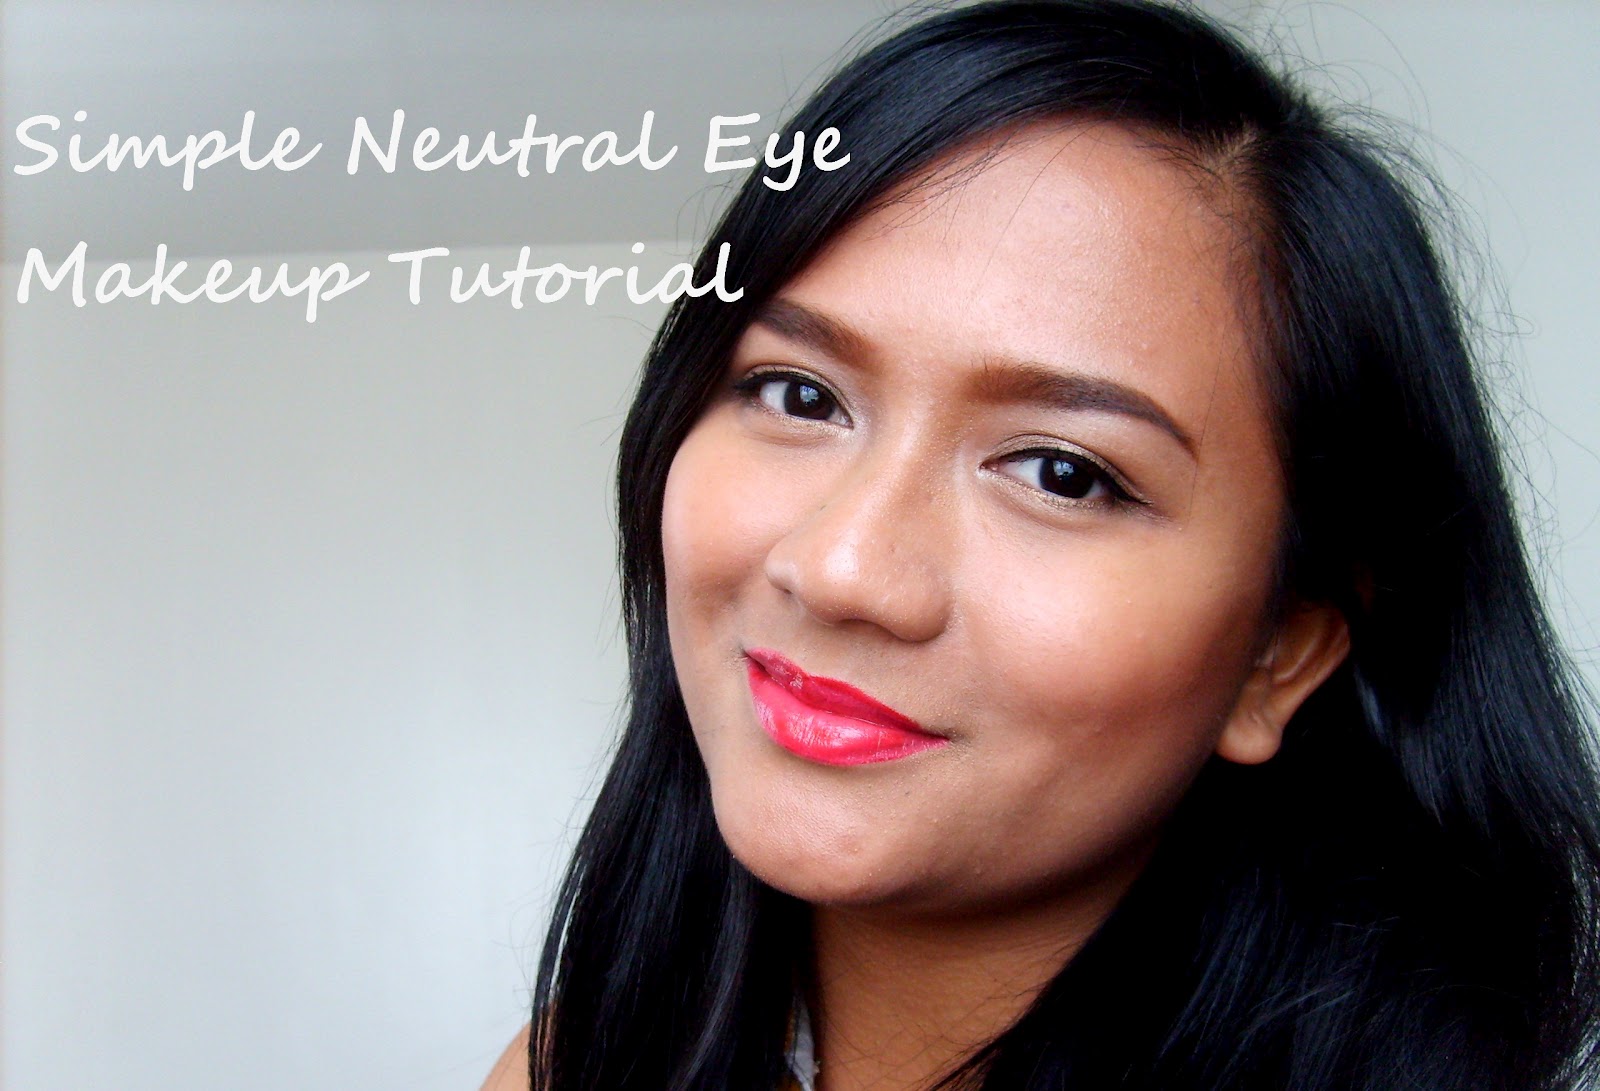
Don't worry cause this tutorial is so easy. I tried to come up with a simple look which I think anyone can do. I also used colors that are very wearable and easy to find. This look is very versatile and perfect for any occasion. No special blending skill is needed to achieve this.
1. Eye Primer (Optional)
2. Bronze eyeshadow
3. Copper Eyeshadow
4. Brown Eyeshadow
5. Highlighter Eyeshadow (White/Champagne/Gold)
5. Pen/Liquid/Gel Liner
6. Black Mascara
7. White Eyeliner
Step 1: Prime your eyelids with your favorite primer. In this tutorial, I used an eye primer and then put cream eyeshadow to add more vibrancy to the color. Make sure to prime not only your lids but also your lower lash line.
Products:
ELF Lid Primer
Maybelline Color Tattoo in Bad to the Bronze
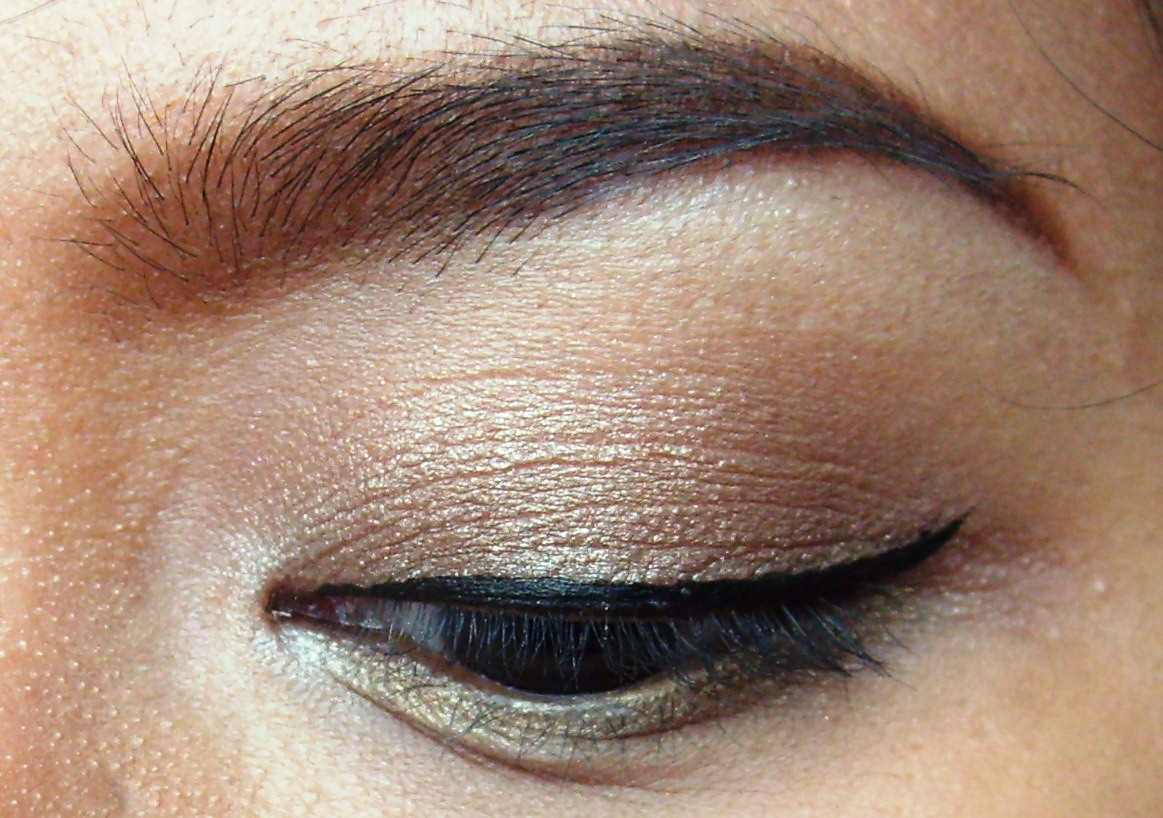
Step 2: Using any eyeshadow brush, apply the bronze eyeshadow as lid wash. Don't go beyond your crease cause we want it as natural as possible. Even it out and fade it towards your crease.

Products:
Dollface 88 color palette (Bronze)
Step 3: With a smaller brush, apply the copper eyeshadow on the inner 2/3 of your eyes then blend in the brown eyeshadow on the outer 1/3. Blend blend blend! It has to be seamless. Lining your lower lashline will add more dimension to your eyes. Plus, it puts the whole look together. Again, apply it on your lower lash line and not your water line. You don't want to irritate your eyes, do you? Errrr... I need a more stable hand for taking close up shots.

Products:
Urban Decay Naked Palette (Half Baked)
Urban Decay Naked Palette (Dark Horse)
Step 4: Highlight the corner of your eyes and your brown using your light eyeshadow. For this look, I used a champagne based eyeshadow. This step is essential to make your tired eyes look well rested. Don't go over board with the highlighter. You still want it appropriate for the day.

Products:
Urban Decay Naked Palette (Virgin)
Step 5: Get your favorite eyeliner and do a simple thin wing to accentuate the natural shape of your eyes. If you want a more natural look, you can use brown pencil liner instead.
Products:
Maybelline Hypersharp Liner
Step 6: Curl your lashes and make your eyes pop by applying black mascara on your upper and lower lashes. You'll immediately notice the difference it will make. DO NOT SKIP THIS STEP!

Products:
Shu Uemura Eyelash Curler
Essence Multi Action Smokey Eyes Mascara
Step 7: Lastly, seal your look by lining white eyeliner on your waterline.

Products:
NYX Eye Pencil in White
Voila! That easy! I highly recommend this look for ladies who are afraid to do crease blending. It's also for women who are on the go and can only spare a few minutes for makeup.
You'll see how versatile this look is by just changing your lipstick.

You can go au naturale by using neutral lipstick (Lipstick: LA Colors Lipstick in Caramel Cream, Lipgloss: No.7 High Shine Lipgloss in Tease)

Or do the classic red lipstick look (Lipstick: MAC Lipstick in Russian Red)

Be daring and use bold colors like fuchsia pink (Lipstick: MAC Lipstick in Impassioned, Lipgloss: Maybelline Superstay 10 Hour Stain Gloss in Pink Plush)
It's actually my current favorite look cause it's quick and easy and I like partnering my MAC Impassioned with it. :)
PRODUCTS USED
FACE:
The Face Shop BB Cream
MAC Studio Finish Concealer in NC35
MAC Studio Fix Powder Plus Foundation in NC42
Laura Mercier Translucent Loose Setting Powder
Maybelline Fit Me in 355 (As contour powder)
Bourjois Blush in 16 Love-struck Rose
BROWS:
Essence Eyebrow Designer in Brown
In2It Waterproof Eyebrow Colour
MAC Brow Set in Girl Boy
LIPS:
Vaseline Petroleum Jelly in Rosy Lips
MAC Lipstick in Implassioned
MAC Lipstick in Russian Red
L.A. Colors Lipstick in Caramel Cream
No.7 High Shine Lipgloss in Tease
Maybelline Superstay 10 Hour Stain Gloss in Pink Plush
I kinda went crazy taking the perfect photo for this blogpost. Haha! Here are crazy photos of mine to entertain you. LOL


Watch out for more tutorials in the coming weeks. Brewing some smokey eye tutorial this weekend. :)
What do you think of this look? Would you like to try it out yourself?
Ciao!
Follow me on GFC, Twitter and Instagram

ooohhh... that maybeline liner sure is sharp. is it easier to use than a liquid liner? :)
ReplyDeletenicole
http://axonsanddendrites.blogspot.com
I prefer it over liquid liner cause it's easier to control. :)
DeleteI love your blog, Glacey! :) Keep your posts coming!
ReplyDeleteThanks a lot Jill! :D
Delete