

Before anything else, I'd like to say that this is my personal way of doing my brows. I'm not claiming that this is the best method but this is the thing that works for me. You know how particular I am with brows. I can even just sport a look with lip and cheek tint as long as my brows are filled, I'm good to go. This tutorial is greatly recommended for girls who regularly groom their brows but not satisfied with the thickness and length. For girls with virgin brows, I suggest that you have it professionally done first to see how it should be shaped when doing your brow makeup.
To achieve the perfect looking brow makeup, you need to have the following:

1. Brow Pencil (Revlon Color Stay Eyeliner)
2. White Eyeliner (Nyx White Eyeliner)
3. Spoolie (Marionnaud double side brush)
4. Angle brush (Suesh angle brush)
5. Brow powder (In2It Waterproof Eyebrow Colour)
6. Any concealer/highlighter (Nyx Concealer in a Jar)
7. Brow gel (MAC Brow set in Girl Boy which I forgot to include in the photo)
2. White Eyeliner (Nyx White Eyeliner)
3. Spoolie (Marionnaud double side brush)
4. Angle brush (Suesh angle brush)
5. Brow powder (In2It Waterproof Eyebrow Colour)
6. Any concealer/highlighter (Nyx Concealer in a Jar)
7. Brow gel (MAC Brow set in Girl Boy which I forgot to include in the photo)
On a daily basis, I only use the brow powder, angle and spoolie brush. But when the look calls for a more defined one, I use the concealer/highlighter, brow pencil and brow gel. And since this is a tutorial, you'll be needing the white liner to draw your guide.You can use any brand but these items were tried and tested by yours truly so they are highly recommended. If you got the tools ready, let's get this started.
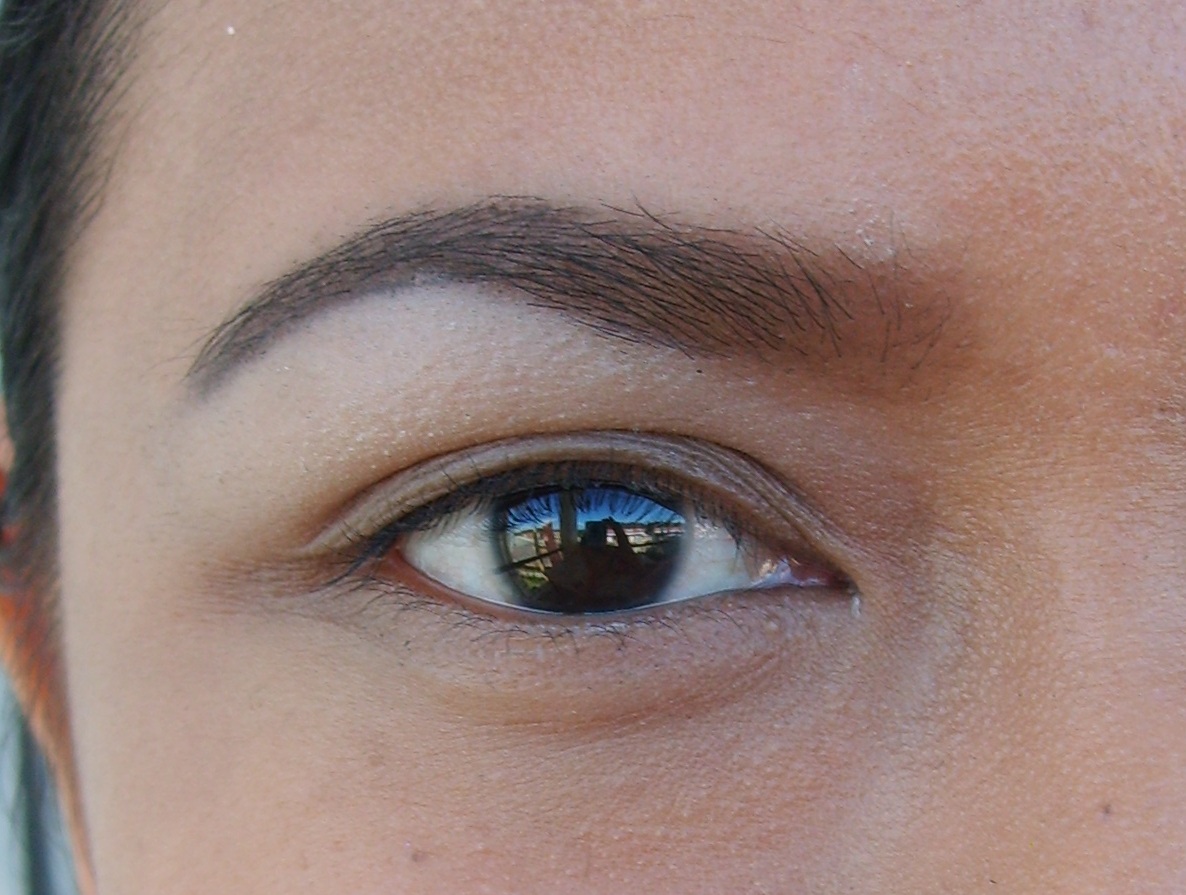
This is how my brows look without the makeup. Yes they're shaped, but they're too thin for my taste. I like my brows a bit thicker because it makes me look younger and nicer (by nicer, i mean "mabait"...LOL).

Sorry for the "jirits/irita" looking eyes. I took these photos at the balcony to get a more natural lighting. Sunlight was too bright. :|
Step 1: Using your white liner, find the 3 points as guide to your brow makeup. Align your liner vertically, resting the liner at the side of your nose. This is where the brow makeup should start. Second point should be where the liner and your iris meet, and this should also be the highest point of your brows. Lastly, the 3rd one is the point where the liner and the outer part of your eyes meet. Yes, this is where the brows should end.


If you try to observe, i need to add more length to it.
Step 2: Draw the brow shape with the 3 points as your guide. This will work as your "stencil"when filling in your brows.

Step 3: Fill in your brows with a darker brow powder, starting in the middle of your brows. Don't forget the sparse areas! :)


Step 4: Fill in the rest of the stencil using the lighter powder. It's better to make a gradient effect for more natural looking brows. You don't want it to look like one block of brown.


Step 5: Erase the guide using cotton swabs. Be careful when erasing the lines cause you might erase the actual brow makeup. See how it looks better now?

Step 6: Again, fill in the sparse areas cause we want it to look even.


Step 7: Using a Spoolie, brush your brows in an outward motion. This will help the brows look more natural.

What I would do is transfer a little amount of the brow gel to the Spoolie to set my brows since the formula in the product's Spoolie itself is a bit too much for my brows. But if you really want it lighter, it's ok to use the product's spoolie and not use a separate one.
Step 8: Highlight your brow bone using your concealer or any light-colored eyeshadow. This will emphasize the shape better.
Now the final look! Voila! You have well shaped brows. With just 8 steps, you can achieve brows that will pull together any look.

Handy TIPs:
1. If you're using a regular brow powder, it's better to use primer to make it last all-day. But since mine is waterproof, I've got no problems with staying power.
2. Brows should always be 1-2 shades lighter/darker than your hair color.
3. Groom your brows regularly. Life will be so much easier for you!
4. Find the product that works for you. If you think you're more comfortable with eyebrow liners, then feel free to use it.
5. I hate to say this, but some people get too excited when highlighting their brow bone. DON'T use too frosted or too metallic highlighter unless you wan't to look like a drag. :|
6. Practice! Cause once you get familiar with the shape of your brows, you won't need the guide anymore. :)
There you go! I hope this tutorial was helpful. If you have other questions, suggestions or requests, please comment down below. Oh, and don't forget to put your name (and URL if you have one).
Don't forget to follow me on GFC and Twitter: @glaceyloiz
this is informative =) ive been watching michelle phan's videos but this is better promise =) keep it up looking forward to more make up tutorials and thank you for posting this ♥
ReplyDeleteGaling! Brow-master ka talaga Ate Glacey :) Ok lang i-link ko to sa blog ko? :P
ReplyDelete@caffycat_22587: Oh wow! I'm nothing compared to Michelle Phan. But thank you so much for the compliment. Now you're inspiring me to do more. Thanks a lot! :)
ReplyDelete@Ai: Hihi! Thanks Ai! Go lang! Para makita ng blog fans mo. Hihi! :D
u're great ms. glacey!thanks for the tutorial!:)
ReplyDeleteThanks a lot Jen! Hope you watch out for more. :)
ReplyDeleteWow! thanks for this!! eversince the brow thing is my headache because I dunno hot to do it..its really helpful..~^_^~
ReplyDeleteHi Janet! So glad to hear that! It's really tedious to have decent looking brows but I hope that this tutorial somehow helped you. :)
ReplyDeleteVery informative and helpful step by step tutorial specially for us who doesn't have an idea how to :)
ReplyDeletehttp://kikaytalk.blogspot.com/
Thanks a lot! Glad that you found it helpful. :D
Deletegreat eyebrow tutorial! your brows look great!
ReplyDeleteThank you Jackie! :D
Deletehoho.. >,<
ReplyDeletefinally i find best tutorial in here.
thanks very much for great tutorial.
I will get perfect eyebrow makeup toh=gether with this tutorial.
thanks again
This is such a big help. I really need to practice on making my brows done.
ReplyDeletehttp://styleandglow.blogspot.com/
Nice share! Thanks a lot for such a lovely blog posting this time around as well.
ReplyDeleteHair strokes permanent make up Fort Lauderdale
This is written very well you are a very good writer. I am agree with you. Hope you will Carry own writing in the same way. Thumbs Up!
ReplyDeletePermanent Eyeliner Tattoo Fort Lauderdale